What is Batik?
Batik is a traditional wax-resist technique of dyeing and decorating fabric, going back over two thousand years. Remnants of batiked cloth have been discovered in both China (Far East) and Egypt (Middle East). However, it is in Java, Indonesia, where the most accomplished batiks can be seen. The word 'batik' comes from the Javanese world ambatik, derived from tik which means to mark with a point, dot or drop.
Batik is a method of decorating fabric by applying hot wax and dye. The basic principle of batik is that wax serves as a resist. Shapes, patterns and lines are drawn directly in molten wax or stamped on the the fabric using different waxing tools e.g. cantings (tjantings), brushes and caps (tjaps). The fabric is coloured by either dip-dyeing or directly painting on the dyes. The waxed areas resist the dye and remain the original colour. Only the unwaxed areas will take up the dye.
The process of waxing and dyeing can be repeated to create elaborate and colourful designs. Starting with the lightest colours, you can gradually build up the tones to the darkest colour, waxing the details at each stage. You have to allow the fabric to dry before you can wax the next layer. After the final dye has been applied and allowed to dry, the wax is partially removed by ironing the batik between newsprint, thus leaving the design on the fabric. The last remnants of wax can be removed by boiling out or by dry-cleaning.
If it is a picture, the batiked fabric can be stretched over stretcher bars or framed under glass. Batik can also be used to decorate scarves, T-shirts, clothing and wood.
Wax Pot
- It is preferable to use a thermostatically controlled wax pot
Wax
- Mixture of Beeswax (or Microcrystalline wax) and Paraffin wax - usually one third beeswax to two thirds paraffin wax but you can mix your own proportions. or you can buy ready-mixed Batik wax.
Wax Tools
- Canting (pronounced tjanting) a tool for applying hot wax by hand.
- Kistka - A smaller waxing tool for detail and for pysanky - decorating eggs
- Wax brushes - (bristle preferably)
- Cap - (pronounced tjap) a copper design stamp
Dyes
- Procion Cold Water MX Reactive Dyes
- Watercolour brushes and sponge brushes
- Soda Ash (Fixative)
Fabric
- 100% white cotton fabric, linen, silk, velvet, viscose, Japanese watercolour paper
- Adjustable frame
- Push Pins

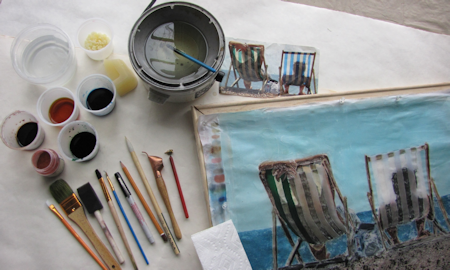
wax pot and a selection of waxing tools

wax pot, wax, waxing tools, soda ash(fixative), dyes, dye brushes and batik in process

A variety of cotton, silk, linen fabrics and Chinese and Japanese papers.
My Work
As you may have observed, my batiks are quite painterly in style. I enjoy pushing this Far Eastern resist technique of decorating fabric, in a more figurative Western way. People often mistake my batiks for watercolour paintings and can't believe that I batik my pictures by applying wax and dyes on fabric instead of painting with paint on watercolour paper. I use a blending of traditional tools and processes along with experimental methods, in creating my batik paintings. I work mainly on primissima 100% cotton, usually stretched on a frame. I apply the Procion MX cold water reactive dyes by painting them on the fabric, rather than by dip-dyeing, waxing the details at each stage.
My travels and many interests are my inspiration. My work ranges from realistic land and seascapes, sporting scenes (especially sailing, polo and cricket), flora and fauna, to abstract images e.g. reflections). I try to capture movement, colour and luminosity in my work as well as contrasting light and shadow. My batiks are usually framed behind UV glass, although larger pieces are stretched on artists' stretchers and framed without glass. I occasionally create abstract wax-resist collages on paper.
In 2015, I was invited to write a 10-page stage-by-stage article, titled 'Capturing the World in Wax and Dyes', in the International Artist magazine (August/September 2015) where I created a batik painting - 'Day Out' - with shadows of two people sitting in deck chairs by the sea. It was a challenging subject to produce as a batik.
Here are some of the images showing how I created the picture from start to finish. I hope these photos give you an idea of how a batik is built up in stages, starting with the lightest colours, leading up to the darkest.
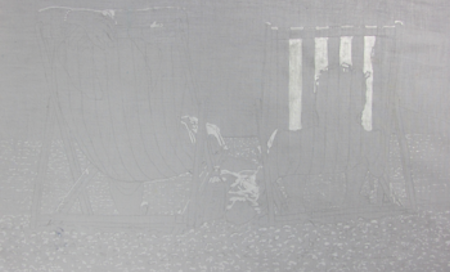
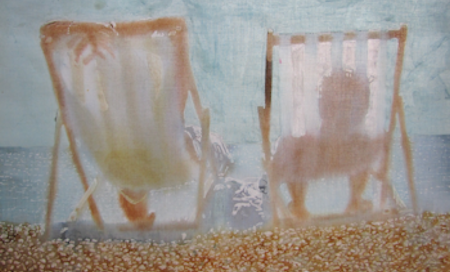
Stage 1. Drawing Design & First Waxing
I drew out the design, first on paper and then traced the design onto white cotton fabric using a 2B pencil. I then applied wax to the areas I wanted to keep white.
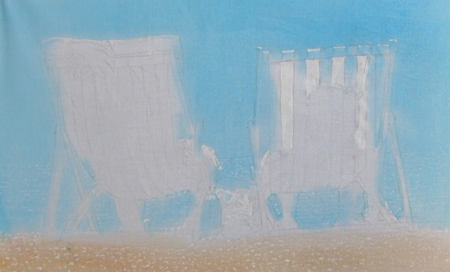
Stage 2. First Application of Dye
Starting with the lighter colours, I applied washes of pale blue and beige colours on the fabric using a sponge brush.
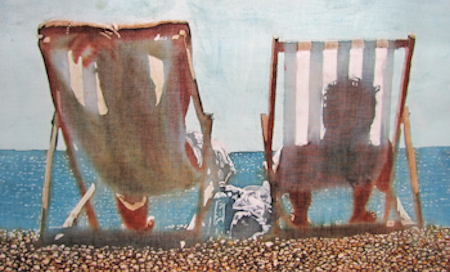
Stage 3. Second Application of Wax.
I applied wax with a brush to protect the sky and dots of wax with a kistka for the highlights of the pebbles. (See Details & Tools below).
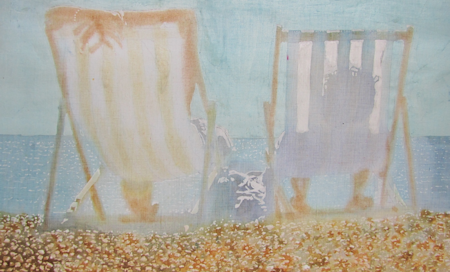
Stage 4. Building up the Tones
I continued to apply slightly darker washes of dye with a sponge brush for the pebbled beach and a smaller brush for the wooden struts, and legs of the deckchair.
Stage 5. Waxing and Building up Tones.
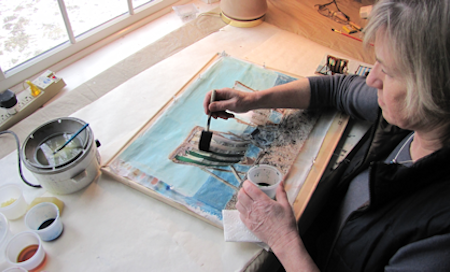
I used a canting to wax the highlights of the deck chairs and the person’s arms. I then applied washes of grey and light brown dye with a sponge brush.
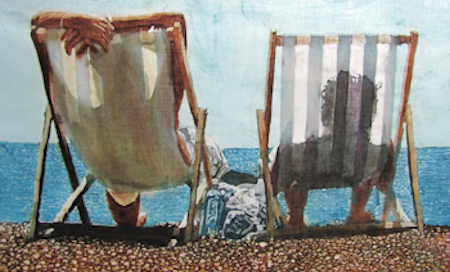
Stage 6. Waxing the Ripples and Shadows
I used a kistka to wax ripples in the sea. I then used a brush to wax the white/grey stripes, only part way down, so I could apply a slightly darker wash over the lower part of the seat to create a deeper shadow where the person’s full weight was.
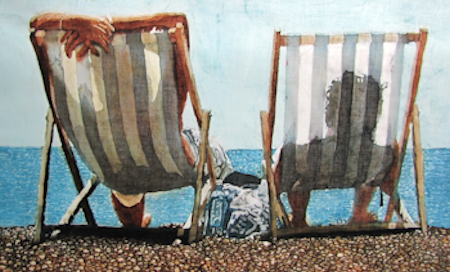
Stage 7. Waxing the White Stripes’ Shadows
It is important to wax the shadows of the white/grey stripes before the blue and green dyes are applied, so the colours won’t bleed into them. I used a brush to wax over the sea.
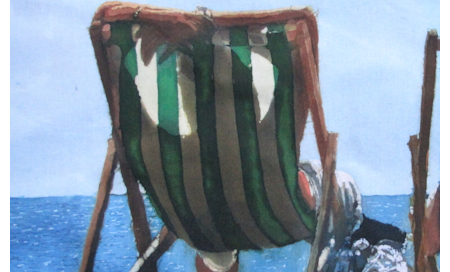
Stage 8. Painting Dye on Stripes
Using a sponge brush, I painted green and blue dyes over the unwaxed striped areas of the deck chairs. The waxed white, pale yellow and grey areas resisted the dye.
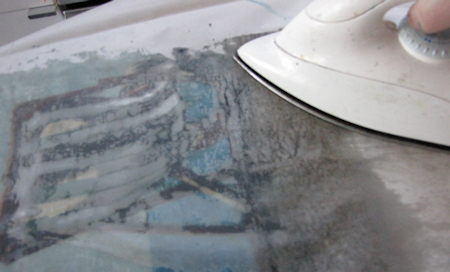
Stage 9. Ironing out the Wax
Wax is removed at the end of the batik process by ironing the fabric between layers of newsprint or brown paper.
Stage 10. After Ironing Out the Wax
Ironing never removes the wax completely, Here you can see where the wax has melted into the fabric, making the edges of the stripes look darker than they really are. After ironing, I usually take the batik to the dry cleaners to remove the last remnants of wax.
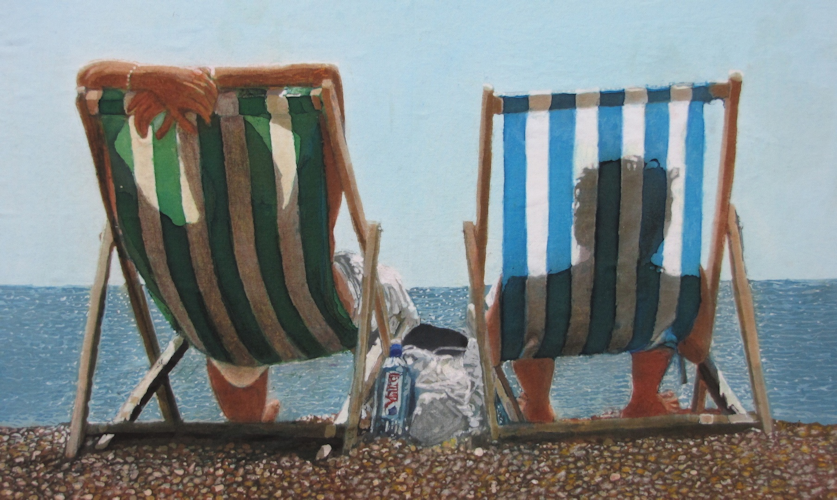
Stage 11. Finished Batik Painting - ‘Day Out’.
All the wax has been removed leaving the finished result
Details & Tools
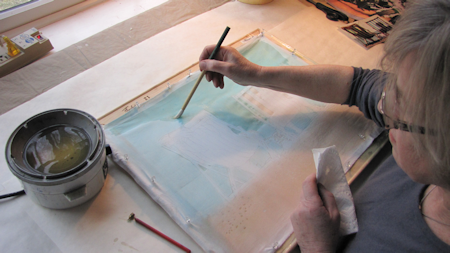
Waxing the sky with a brush
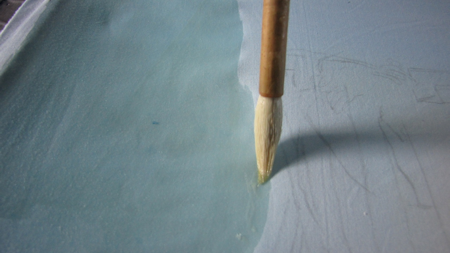
Waxing the sky with a brush (close up)
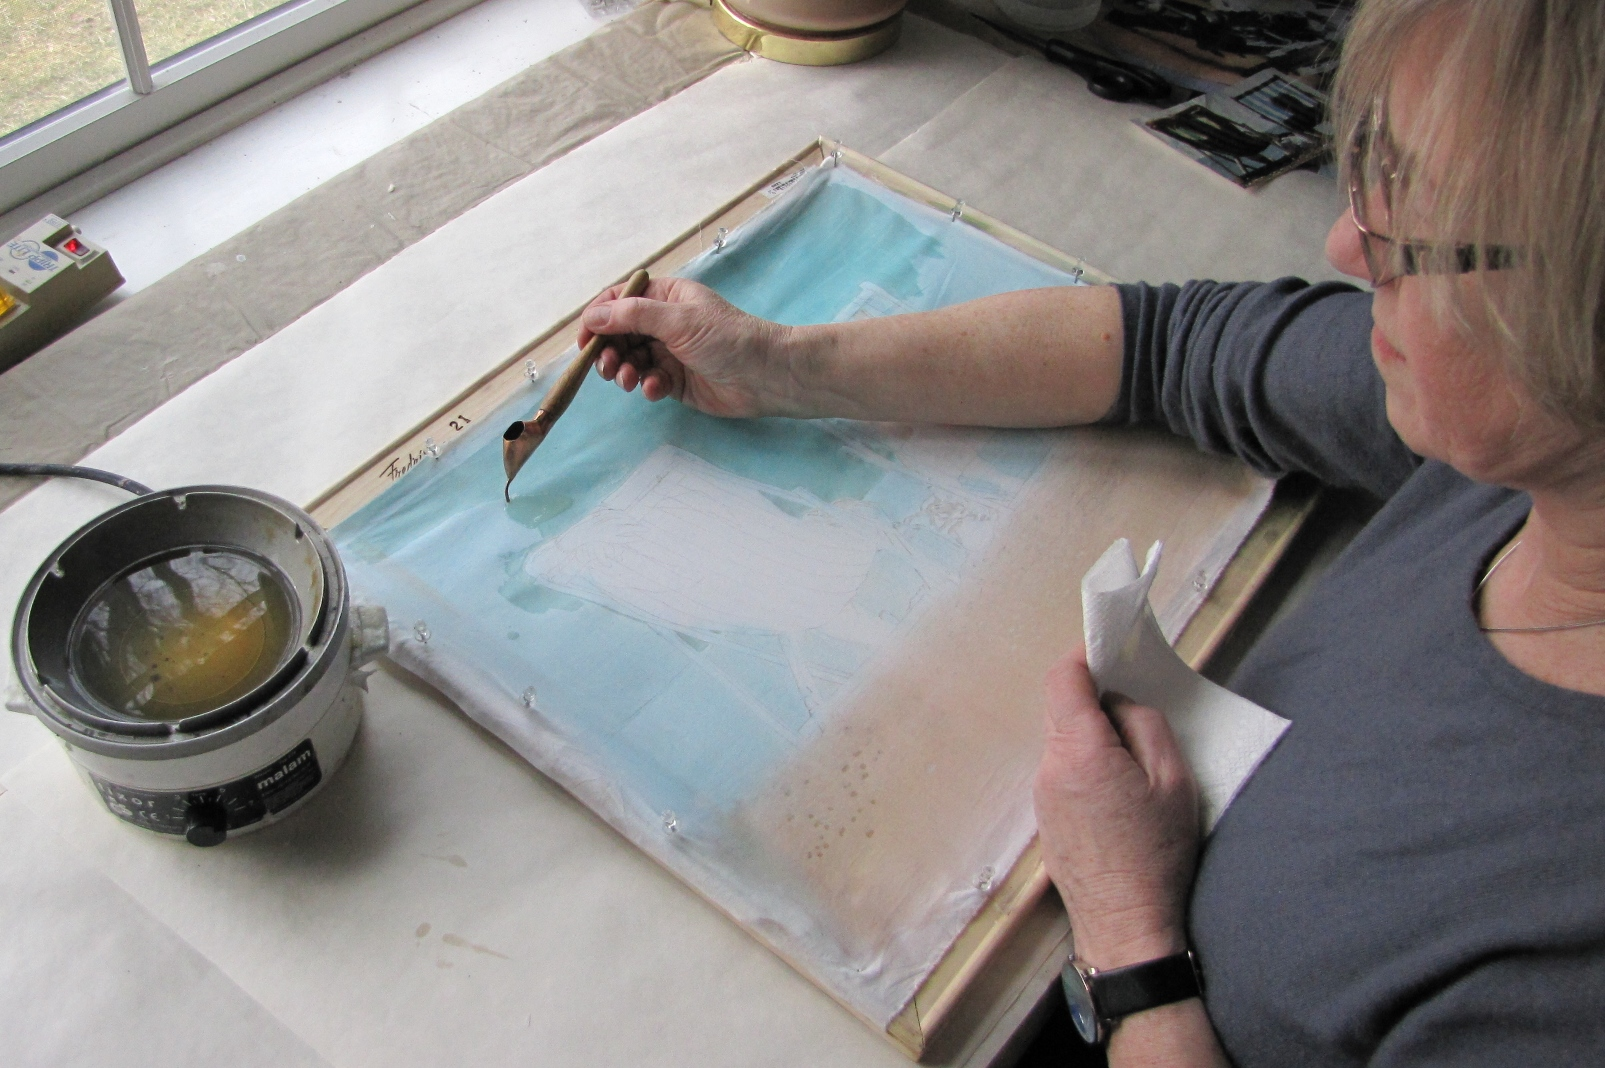
Waxing with a canting
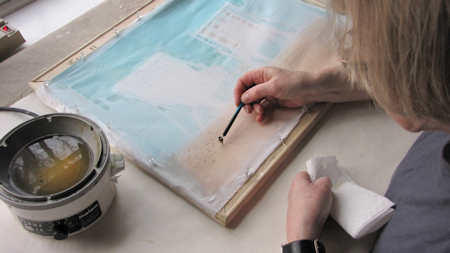
Waxing the highlights of pebbles with a kistka